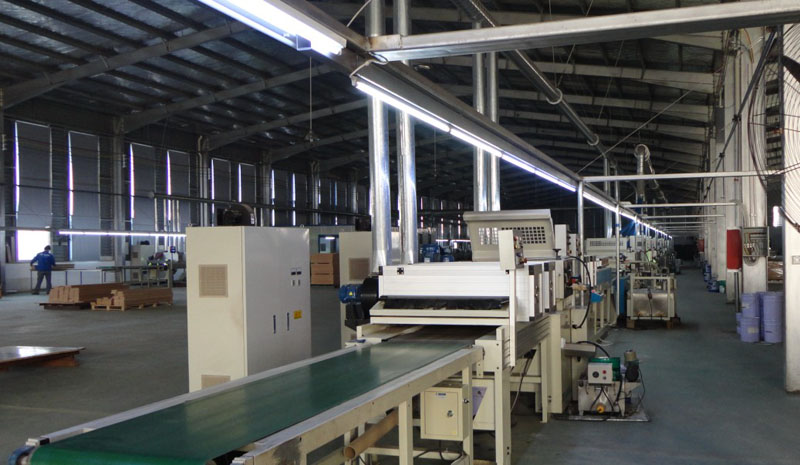
Machine and Equipment for Flooring Production
Many consumers are aware that the wood for a solid hardwood / engineered wood floor comes from a tree obviously. What might not be as easily understood are the processes involved in taking that timber and turning it into planks that eventually adorn your living room, kitchen, bedroom, etc. Each step in the procedure is mandatory and also important to creating a high quality flooring both on the surface and through the interior of the product.
Band saw:
To get boards
Band saws are the best ways sawmills can use machine driven force to cut logs in any diameter possible. Commercial mills have built their own band saws that can cut logs almost 6′ in diameter. This is a great process for cutting ‘chunks’ or beams of wood (from the same section of the tree) that will be manufactured into the boards that will eventually become hardwood flooring. Bandsaw can also get veneers, but the accuracy is not as good as the frame saw.
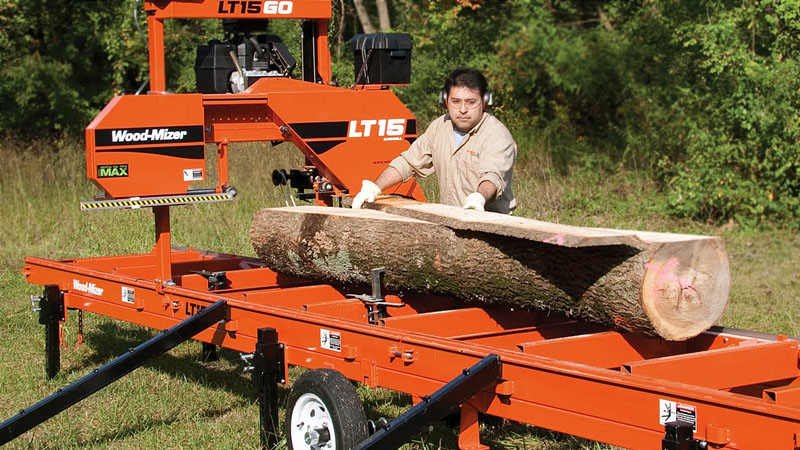
Band Saw Logs
Band Saw Timbers
Some good Bandsaw can even work for some lamellas from AD timber:
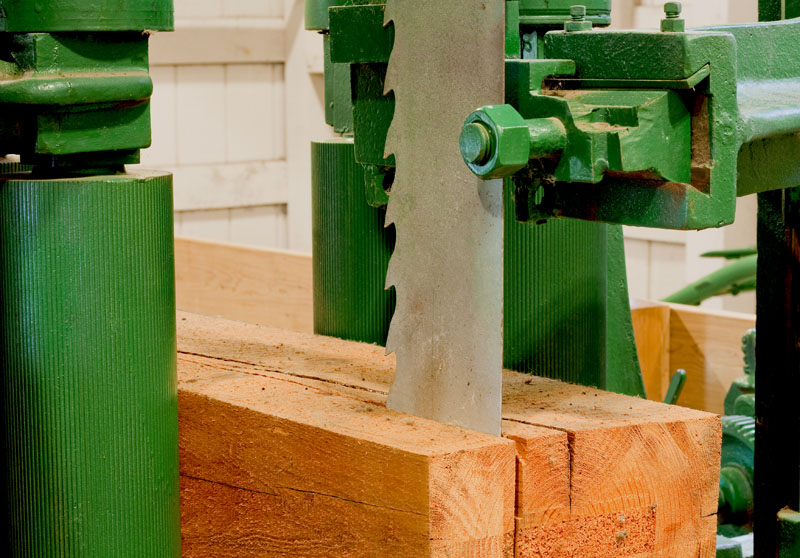
Frame saw:
To get veneers / Lamellas
A frame saw is used to take the blocks of wood created from the band saw and produce veneers, or slats, from them. The frame saw is used instead of the band saw for a couple reasons. First off it is a thinner blade which produces more of a finer cut so that the pieces won’t require time-consuming finishing after coming from the saw. A band saw creates rough cuts which then have to be sanded or machined which drives up costs. Also, the thinner kerf of the frame saw means more pieces can be cut from the beams which makes more efficient use out of the logged timber.
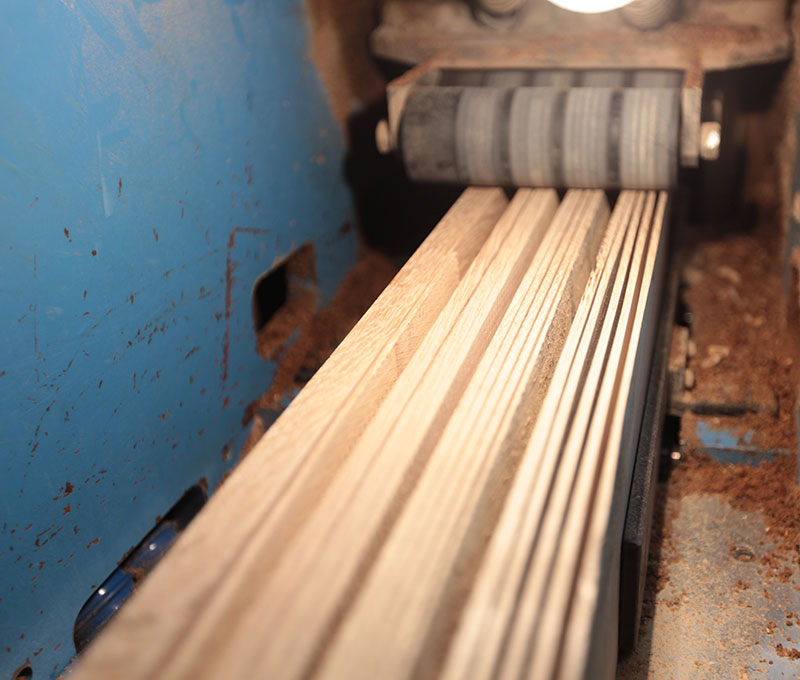
The lamella / veneer thickness which frame saw can do is normally from 1.5mm to 6mm.
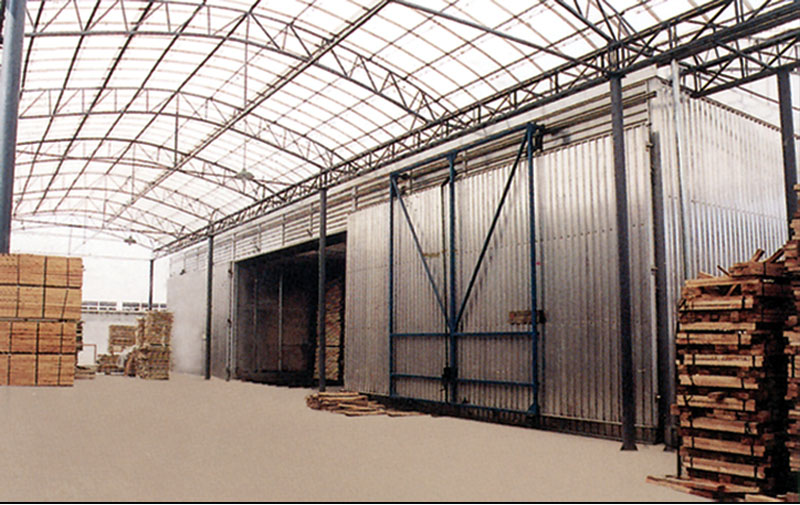
Kiln dry facility:
To dry the veneer or timber
There’s no doubt that wood (trees) absorb water when they are out in the forest so they must be dried of this moisture before being manufactured to go into a home (otherwise they’ll dry rapidly in the home and get damaged). The two processes used to dry the boards are air-dry (leaving them out in the open for months) or a kiln dry facility.
The kiln facility helps control the moisture in the boards as they are drying and is also a much faster process than letting the lumber dry out in the open air. That being said, most manufacturers find out that a combination of air-drying then sending the lumber to the kiln and controlling the internal humidity with water and steam create the highest quality flooring.
Moisture balance facility:
To balance the moisture to a much even level
Since moisture is the ultimate culprit for poor performance and stability in wood, special facilities are designed to help create an optimal moisture balance for the boards before they go into production. A combination of monitoring, drying, and using steam to assist with moisture deficiencies creates boards that will have less ‘ebb and flow’ when installed in a home.
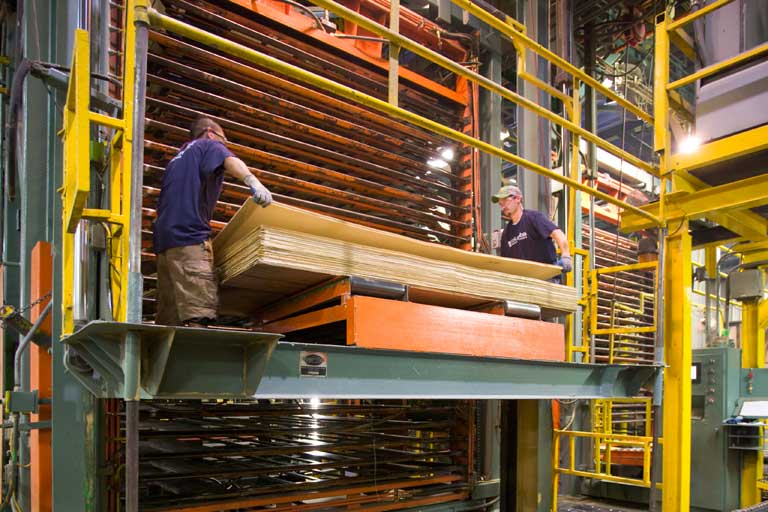
Hot Press:
To glue the plywood veneer sheets
The internal construction of an engineered wood flooring plank includes anywhere from 3 to 12 or more layers of plywood installed in a cross-hatch method. The plywood is more dimensionally stable so that engineered wood won’t absorb or excuse moisture as the air in the room fluctuates. These layers of plywood are installed by using a hot press to create an almost impenetrable layer of glue and wood on the engineered wood floor core.
Cold Press:
To glue and press the oak veneer and the plywood base.
The top layer of manufacturing applies the veneer top which gives the floor it’s distinguished looks to the engineered core that provides it’s stability. Gluing with a cold press is a less-invasive process that won’t damage the color or texture of the veneer.
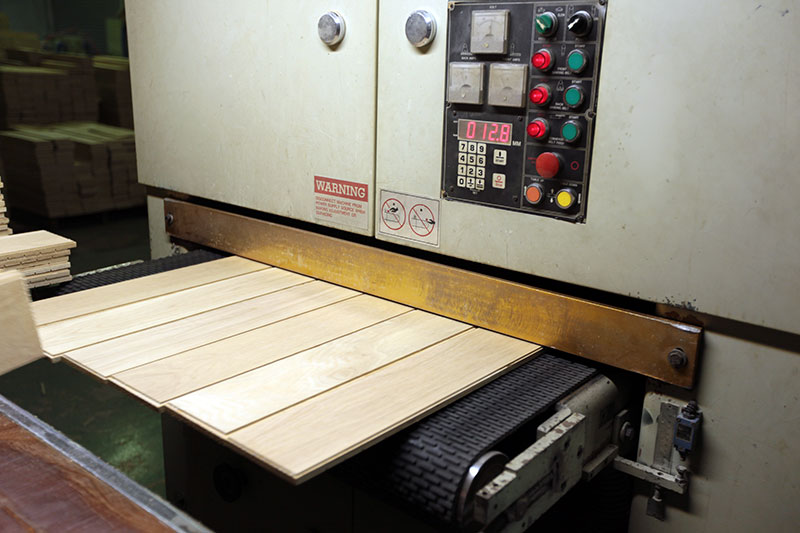
Sanding machine:
Sand the surface to make each board even thickness
A sanding machine helps make sure the boards in a batch of engineered wood flooring are the same thickness. The planks are sent through the sanding machine and calibrated to tight tolerances so that the planks lay evenly when installed.
T&G notching:
To make Tongue and Groove and Micro-bevel
Tonguing, grooving, and micro-beveling are milling processes which allow the wood flooring planks to snap into each other. Boards must be sent through both the tonguing and the grooving process on both sides and use a control board to make sure there are no bumps, misses, and that other planks will snap into place. The micro-beveled edge is done on the surface so that two planks fit together with a minimal seam that will not collect dirt and debris.

Homag Tongue and Groove Line
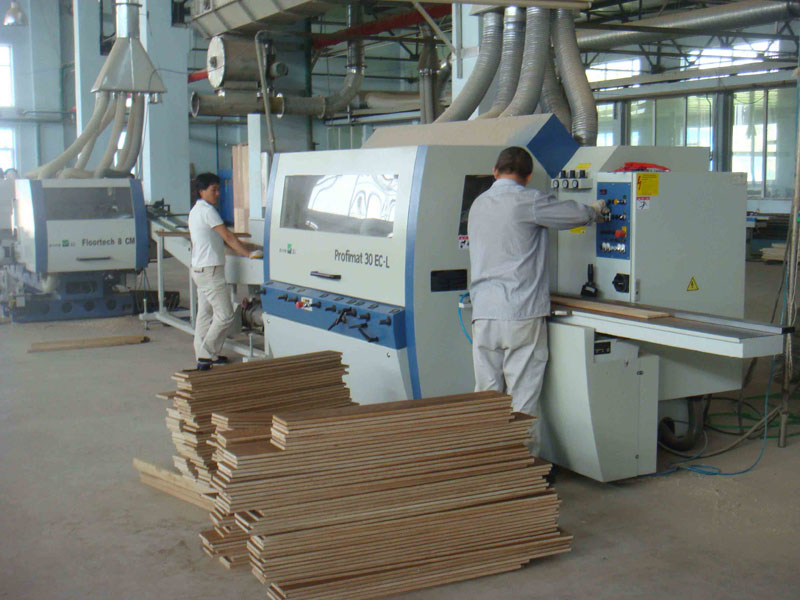
Weining 4-side Planer
Lacquer coating line:
Flooring is under an extreme duress from foot traffic, pets, moving furniture, etc. The lacquer coating top layer(s) represent the first line of defense to protect the wood and other coating processes set up a barrier for the wood itself. These may include:
• Sanding machine
• Oven dry, water base coating
• Bottom layer coating
• Surface coating (For glossy)
• Surface coating (for anti-scratched Aluminum Oxide AL2O3)
• UV dryer

Finally the hot shrink machine is used to protect the wood planks from the outside elements and to create as much as an enclosed environment as possible for the boards while they are in storage, in shipping, or waiting to be installed in a home.
actually we need turn key project for floor parke in qatar
Required skirting profile machine.
Dear sir, Sorry to let you confused. Machines aren’t our products and ours are solid and engineered flooring. If you need flooring and flooring molding, please feel free to contact us immediately!