
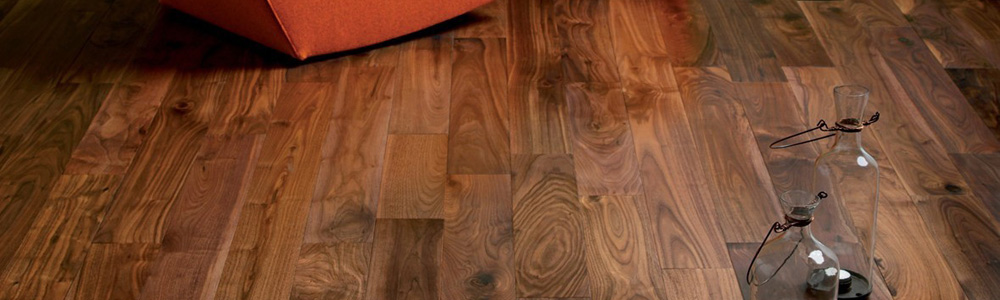
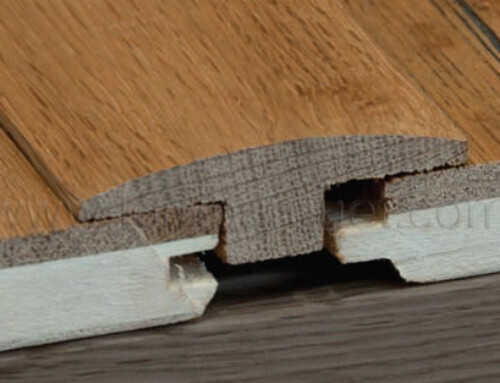
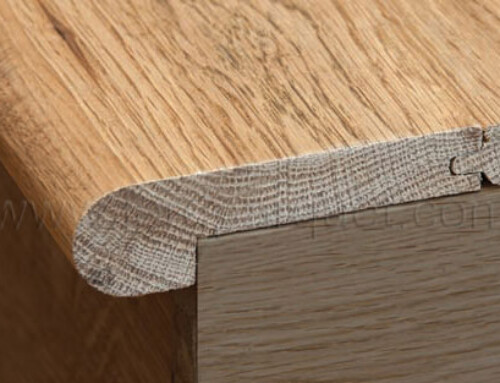
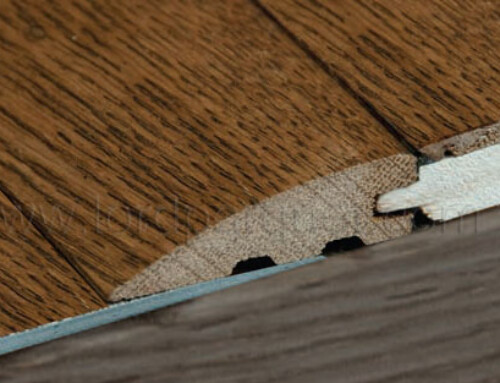
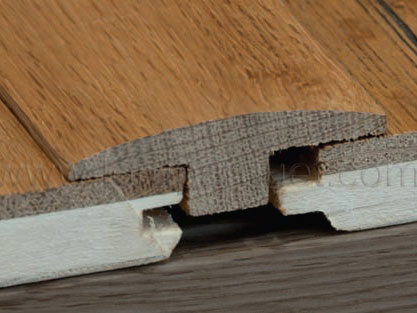
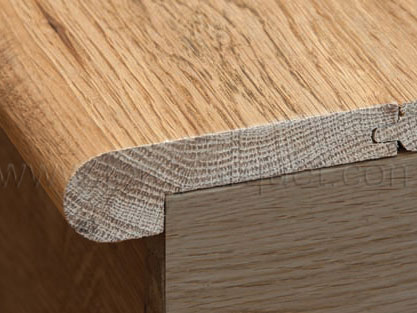
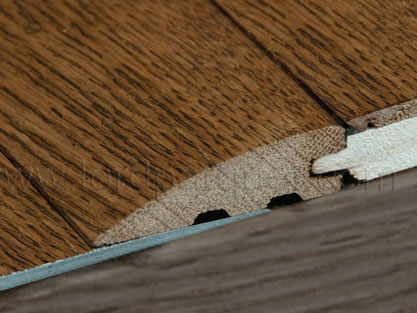
Hardwood Finger-joint Floor Baseboard
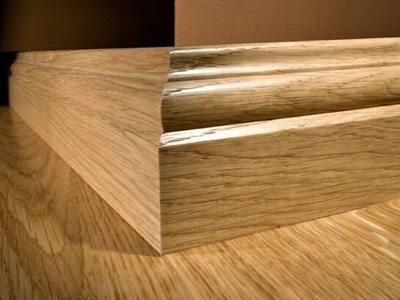
Baseboards are designed to cover the gap between flooring and the bottom of the walls.
Their purpose is decorative as well as to protect the bottom area of the wall from damage. Baseboards are also known as skirting boards, floor molding and mop boards.
Baseboards can be as utilitarian as a straight board nailed at the base of the wall to boards with many intricate details.
Below are steps to install skirting boards using techniques that most people can master.
- Measure the perimeter of the room to determine how many feet of skirting board will be required. Purchase extra to allow for waste and bad cuts. If applying a clear finish, sanding is all that is needed; prime all skirting boards if you are painting them.
- Start on the longest wall first to install the skirting board. Measure the length required and leave the uncut end longer than required. Miter the end that will be in the corner at 45 degrees. Test fit it and trim as necessary. If required to join a second piece of skirting board to the first to cover the length of the wall, miter both ends at 45 degrees, cutting one with the miter saw head to the left side and the second cut with the saw head to the right. The skirting board will then join with only one cut line showing.
- Nail the skirting board to the wall studs using either the air nailer or with finish nails and a hammer. If using a hammer, use a nail set to finish setting the nails and avoid hammer marks on the skirting board.
- Miter the outside corners at 45 degrees, coping out the back side of the skirting board to get a neat, close fit. When the fit is almost perfect, switch to wood files to finish the trimming, taking off a little at a time until the fit is perfect. Fill in any line still showing with caulking, if you are painting, or wood putty, if you want a clear finish.
- Caulk around the top of the baseboard to fill any gaps caused by uneven walls. Paint the skirting board the same color as the walls.
Tips & Warnings
Extra time spent coping and filing any joints in the skirting boards will make for a more professional-looking installation.
Touch Base with the Baseboards
Finish off your flooring project in style with the flooring baseboard adding final touches to complete the look. Check out the visually appealing and classy flooring baseboards in our collection. There is one perfect for you!