
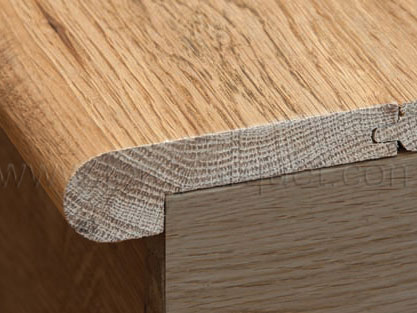
Hardwood Finger-joint Stair Nose
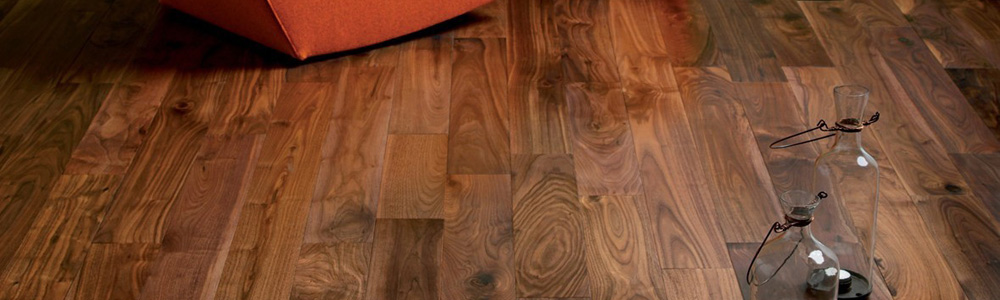
Stair nose molding is used in conjunction with a hardwood floor installation to finish off the step or stairwell where the hardwood floor stops.
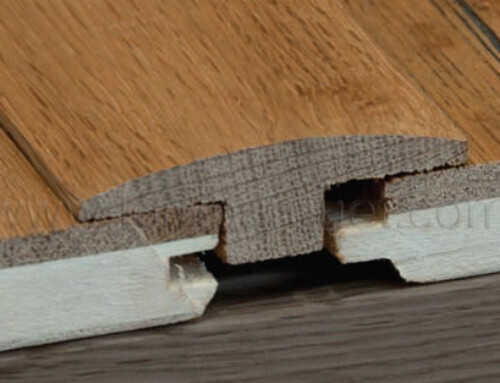
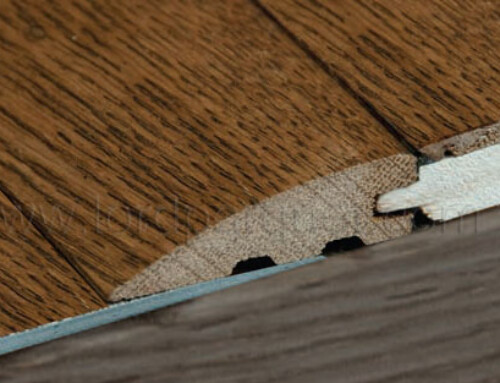
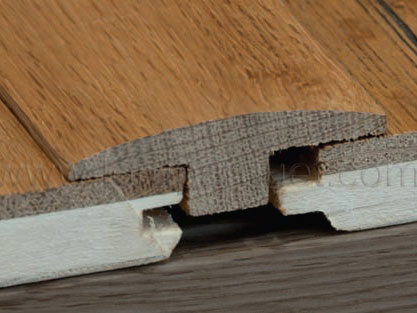
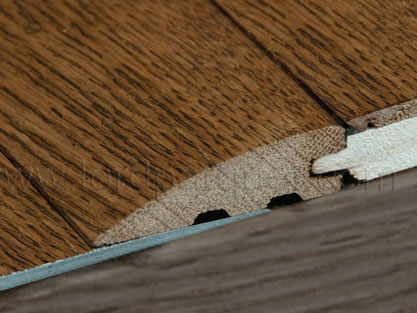
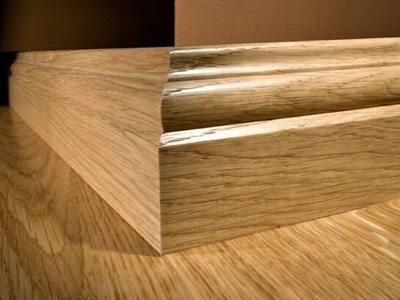
Stair nose molding is about 4 to 5 inches wide, with a rounded bullnose edge that extends down to cover the edge of the step and is typically placed on the step before the hardwood.
If you plan to install hardwood flooring anywhere in your home where there’s a shelf or a step, you can use stair nose molding to achieve a finished look.
Proper stair nose installation can add value to any home.
- Measure across the front of the step. Place the molding flat on a miter saw, face up and cut it to match the measurement.
- Run a bead of construction adhesive across the top front of the step, 1 inch from the edge. Place the stair nose molding in place. Using a drill with a 1/16-inch drill bit, drill holes down through the top of the stair nose 2 inches from its edge, spaced 6 inches apart.
- Hammer 2-inch screw nails into the holes. Stop when the nail is within 1/4-inch of the surface of the molding and use a nail set to finish driving the nail 1/8-inch below the surface of the molding.
- Cut miters on either end of the molding with a miter saw for stairwells, landings or anywhere steps are made with two pieces at an angle. Fit the miters together. Drill and nail the pieces together as you would any straight piece. Use a matching color crayon to fill the nail holes.
- Place the first piece of hardwood flooring butted tight against the flat part of the bull nose and continue installing the remainder of the flooring.
Things You Will Need
- Miter saw
- Construction adhesive
- Cordless screw gun
- 1/16-inch drill bit
- 2-inch screw nails (nails with threads)
- Hammer
- Nail set
- Putty crayon
Tip
You can trim the back of the bull nose off if you need to with a table saw if the hardwood floor has already been installed and you need to cut the bull nose to fit the stair.
Warning
Always wear safety glasses when working with wood.

Leave A Comment